Sign up via the SmarterProctoring™ link provided by your instructor.
Instructions are usually provided in your eCampus account with your university (the same place you find your syllabus and other important class information).
Steps as provided by SmarterProctoring™
1. Log into your institutions LMS and navigate to SmarterProctoring.
2. Once you have logged in, choose the course that you need to schedule an exam for. Then select PROCTORING from the left-hand side of the screen.
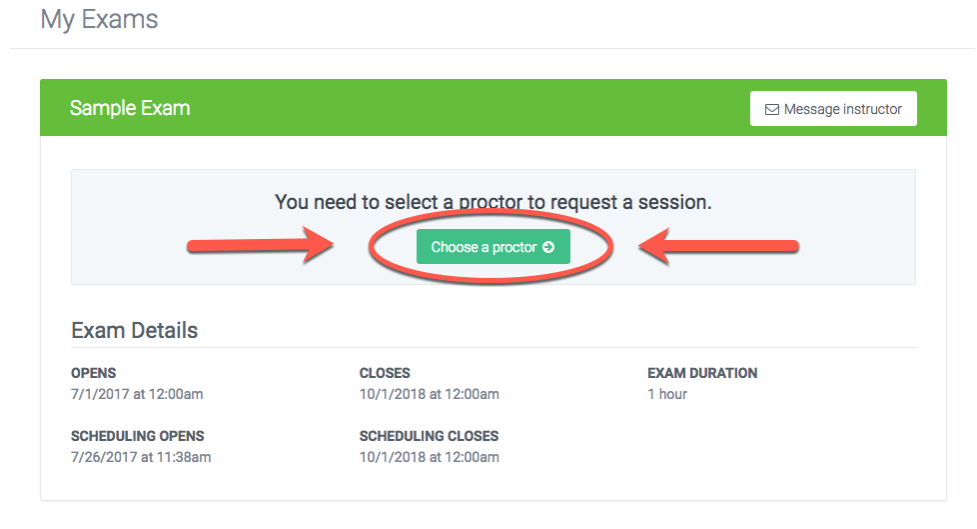
3. When you see your exams, pick the one you need to schedule and select Choose a Proctor
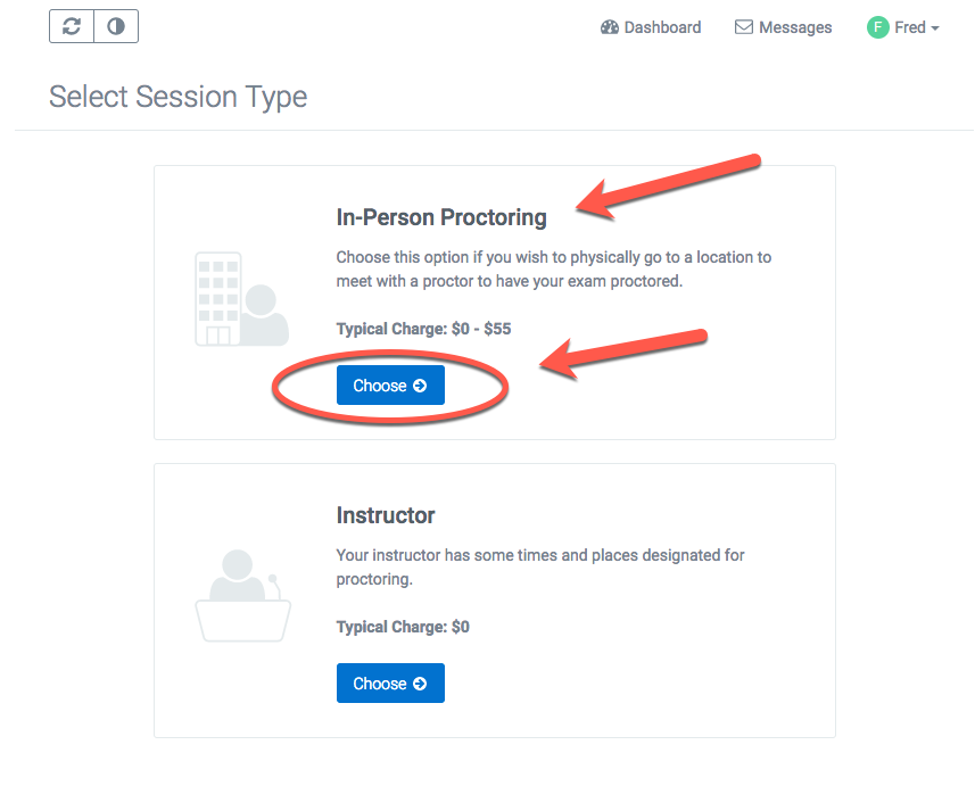
4. The Proctor Groups page will appear, select the group that best applies to you and your course.
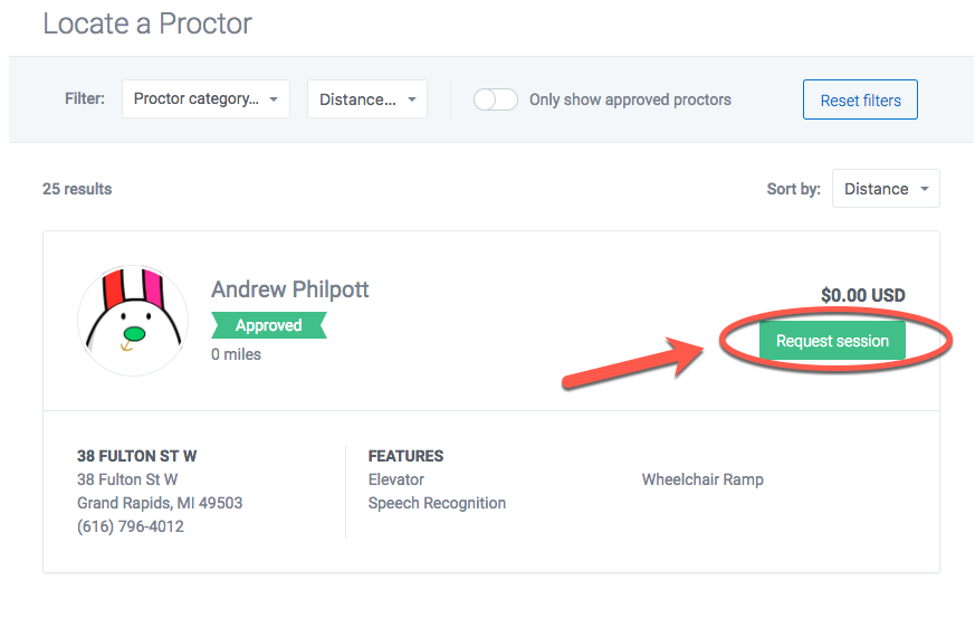
NOTE: On the Locate Proctor page, the results will be sorted by distance (closest in proximity proctors are first). You may also re-sort by the price of the proctors.
5. Once a Proctor is chosen, select Request Session.
NOTE: If a Proctor requires an “approval” – you will have to wait until the approval has been granted in order to choose that proctor.
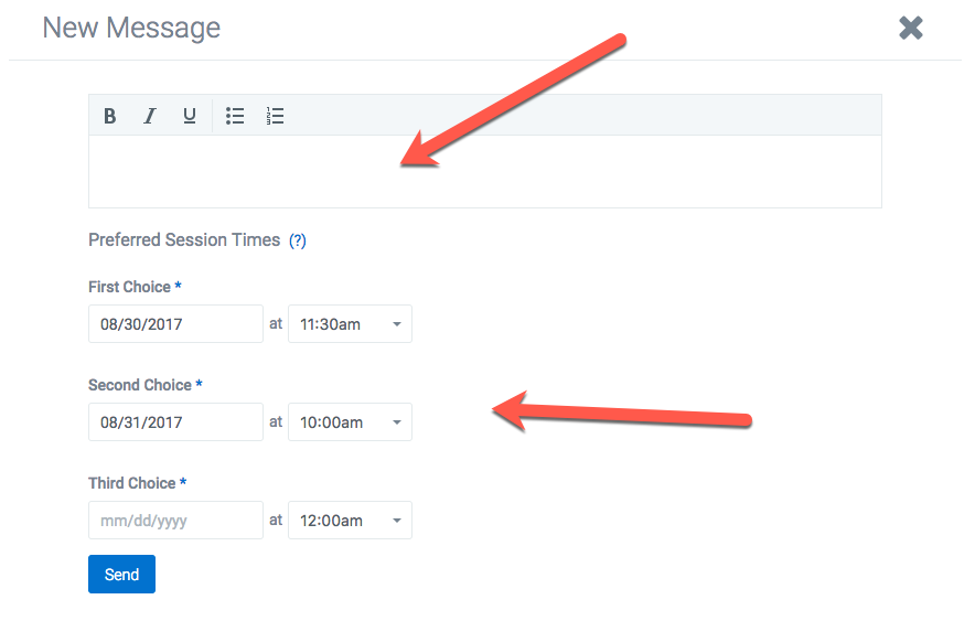
6. You MUST message the proctor and select three (3) session times from which the proctor can choose.
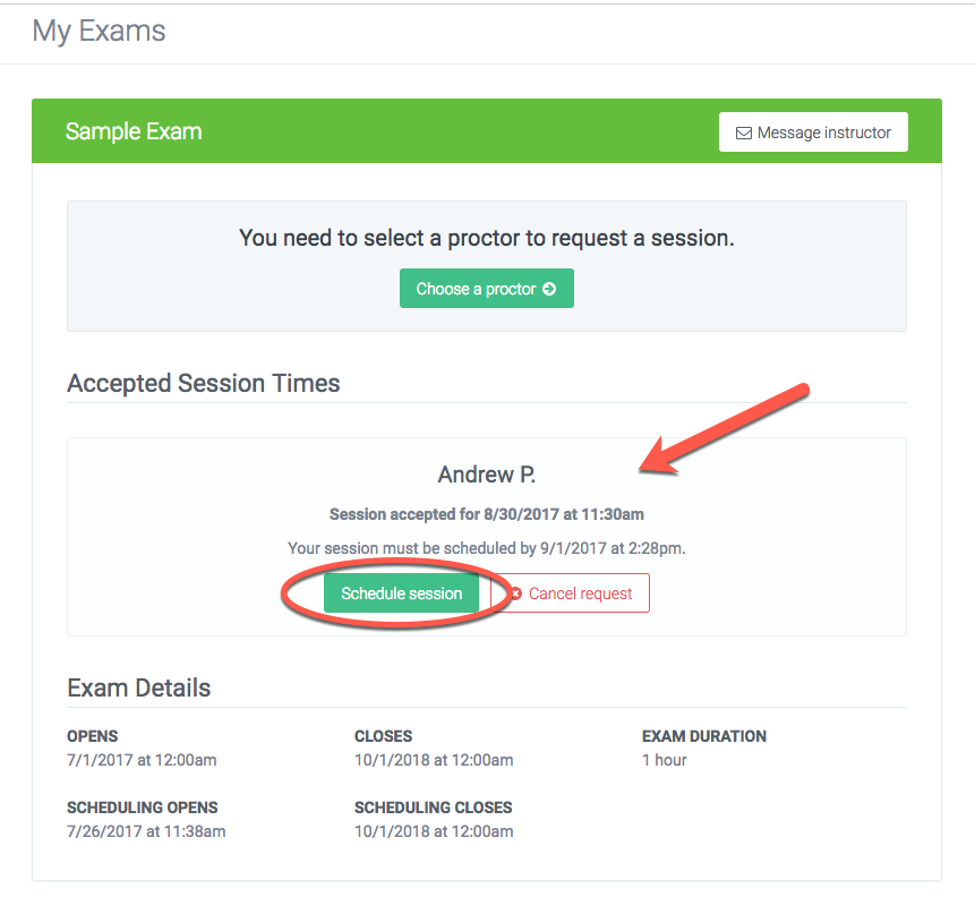
7. Once a session time/date is approved by the proctor, you will receive a message in your inbox from the proctor of the accepted date/time. Select Schedule Session to finish the scheduling process.
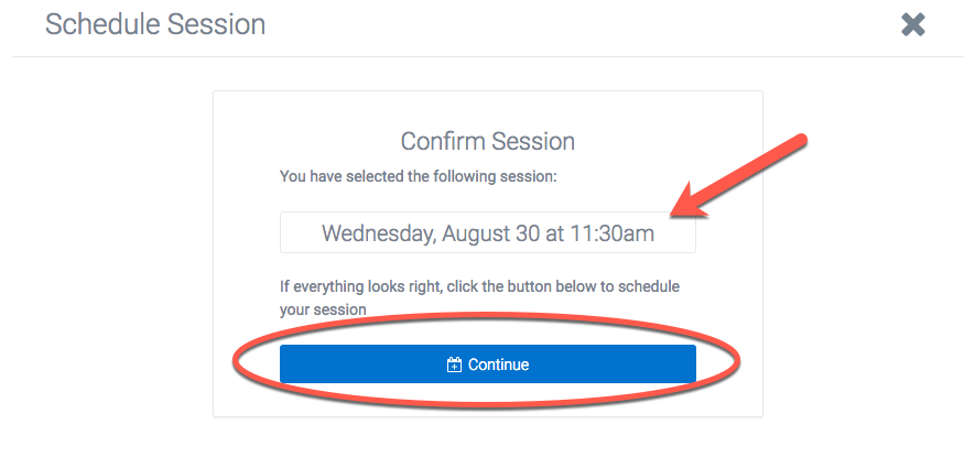
8. IMPORTANT! Review all of the details, if correct, confirm the session and select Continue.
9. If the payment information looks accurate, select Continue. You may also put in a Voucher code to mitigate the price of the session, if applicable.
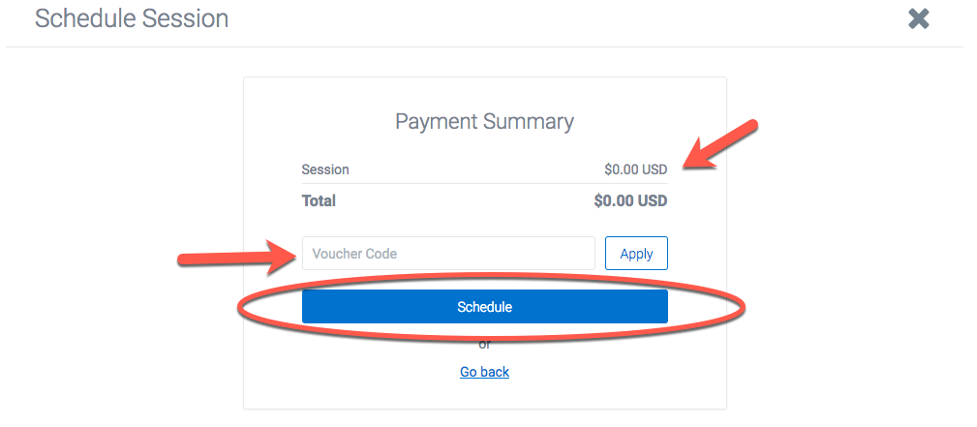
NOTE: If you are paying by credit card, put in card information then select Schedule to Finish process.
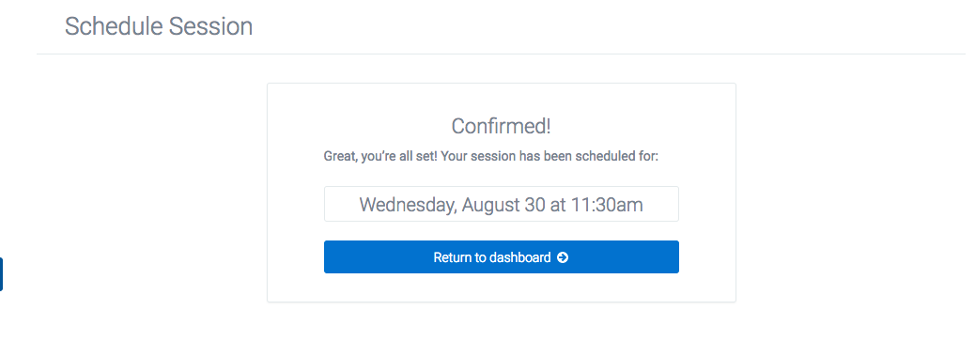
10. You will now see a Confirmed message once everything is complete.